
How to Repair Display of Android Mobile at Home
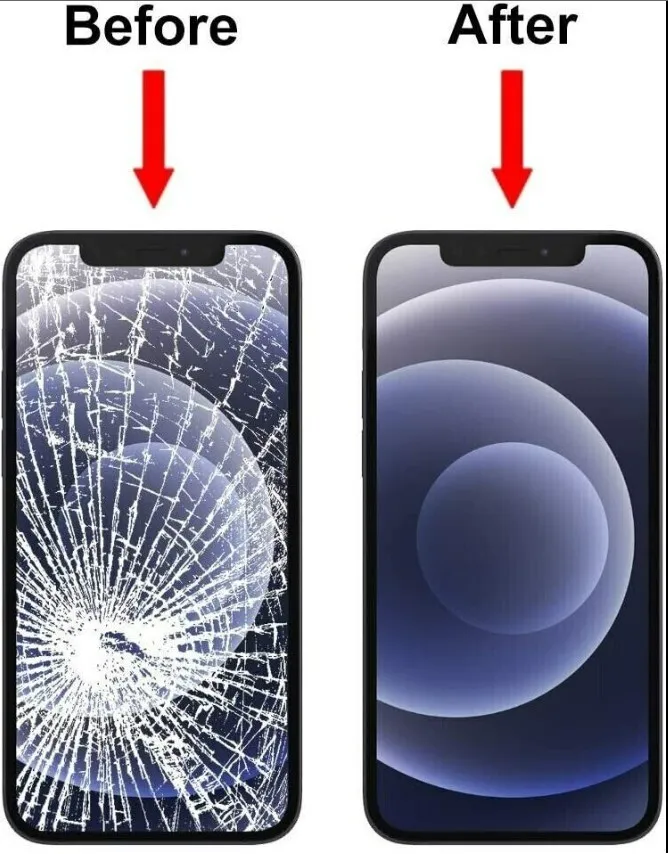
A cracked or broken display can turn your beloved Android phone into a frustrating piece. Replacing it professionally can be costly, but fear not, how can you tackle this challenge yourself and breathe new life into your damaged device.? This comprehensive guide will expert you with the knowledge and confidence to perform a successful Android cell phone repair at home.
Before You Start analyze the Damage and Collect Resources
Identifying the Issues
Cracked Screen: This is the most obvious scenario, with visible cracks and potential touch functionality issues.
Dead Pixels: Tiny, permanently colored dots appear on the screen, distorting the image.
Display Flickering: The screen irregularly flashes or displays partial colors.
Black Screen: The display remains dark, even though the phone powers on.
Understanding the Repair Options
Screen Replacement: For cracked screens, dead pixels, or major issues, this is the complete solution.
Digitizer Replacement: If touch functionality is faulty but the display appears normal, a digitizer replacement might suffice.
Assembling Tools and Supplies
Replacement Display: Ensure compatibility with your specific phone model. Purchase from reputable sources like the manufacturer or trusted online retailers.
Precision Screwdriver Set: Various sizes are needed for delicate phone components.
Opening Tools: Nosy tools or suction cups help safely open the phone casing.
Heat Gun (Optional): Used for softening adhesives during removal.
Replacement Adhesive Stickers: Ensure the right type for your phone model.
Clean Microfiber Cloth: For cleaning the new display and phone interior.
Good Lighting: Provides clear visibility during the repair process.
Safety First! Protections to Consider
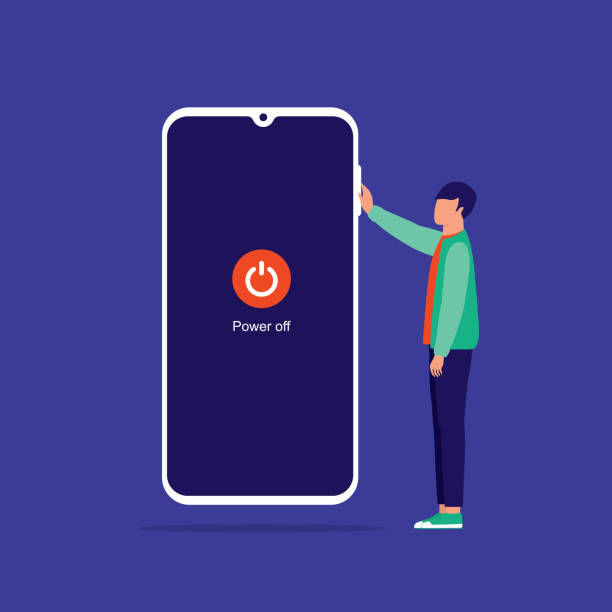
Power Off the Phone: Completely shut down your phone early.
Work in a Clean Area: Dust and rubble can damage sensitive components.
Use ESD Protections: Wear an antistatic wrist strap to avoid electrostatic discharge.
Take Pictures: Make a Document for each step that will help you for easier reassembly.
These are 5 Steps to the Cell Phone Display Repair Guide
- Phone Disassembly:
- Use a disassembly guide specific to your phone brand.
- Use suitable tools to carefully remove the back cover, battery, and connected parts.
- Disconnect the display connections from the motherboard.
- Removing the Old Display:
- Heat the Display (Optional) Use a heat gun on low settings to soften the adhesive. Do not overheat!
- Use the opening tools to lightly peel the display out from the frame, starting from the corners.
- Avoid damaging to close by cables or components.
- Cleaning and Preparing:
- Clean the frame carefully and remove any adhesive residue with a microfiber cloth and isopropyl alcohol.
- Remove any safe films and apply new adhesive stickers as needed.
- Installing the New Display:
- Ensure good alignment by carefully placing the new display on the frame.
- To confirm a secure connection, softly press the display from the center outwards.
- Reconnect the display connector to confirm a secure connection to the motherboard.
- Reassembly and Testing:
- Carefully reconnect all parts and securely reattach the back cover.
- Power on the phone and test the display functionality, touch response, and overall performance.
Extra Tips for Problem-Solving:
Watch the video tutorial to learn how to repair your exact phone model.
Be Patient and careful to avoid further damage.
Seek professional help If you have unsolved issues.
Outside Basic Repair
While this guidance focuses on simple display replacement, complex issues might need extra knowledge and specialized tools. It is strongly recommended to get professional assistance for internal part repair. Remember that your phone’s safety and the success of the repair depend on true execution and knowing your limits.
The Satisfaction of DIY
Successfully fixing your Android phone display at home can be a rewarding experience. Compared to expert services, you save money while gaining dynamic knowledge and a sense of success. With the right training and strategy, you can breathe new life into your beloved device and extend its lifetime.